Free Downloads
Ready-to-use PDFs for your customers — patterns, tutorials and how-to guides, all free.
Step-by-Step Tutorials
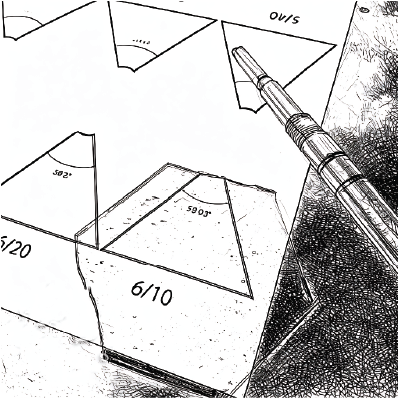
Angle Kit Tutorial
How to use the Angle Kit for clean prism joins and complex shapes
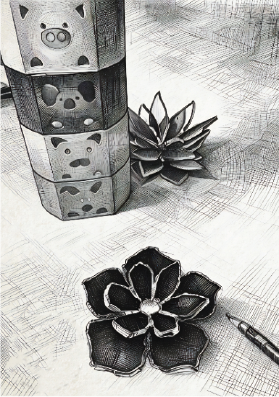
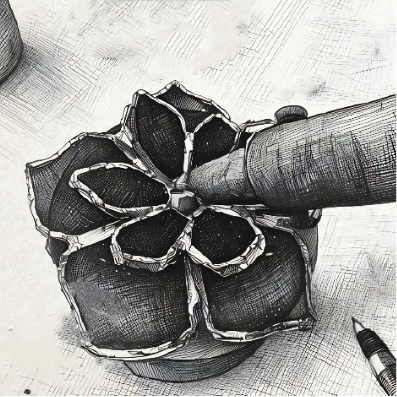
3D Stackers Tutorial
Build layered flowers with the 3D Floral Stackers.
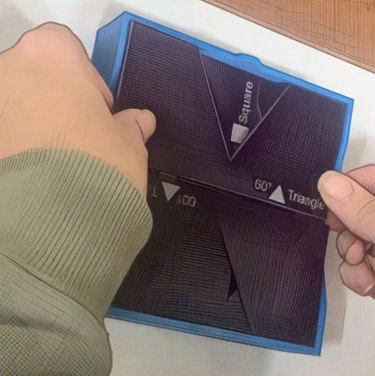
Shape Helpers Tutorial
Designing with and using the teardrop shape helper.

Glass Patterns
Two Butterflies
Classic butterfly pattern, printable at A4.
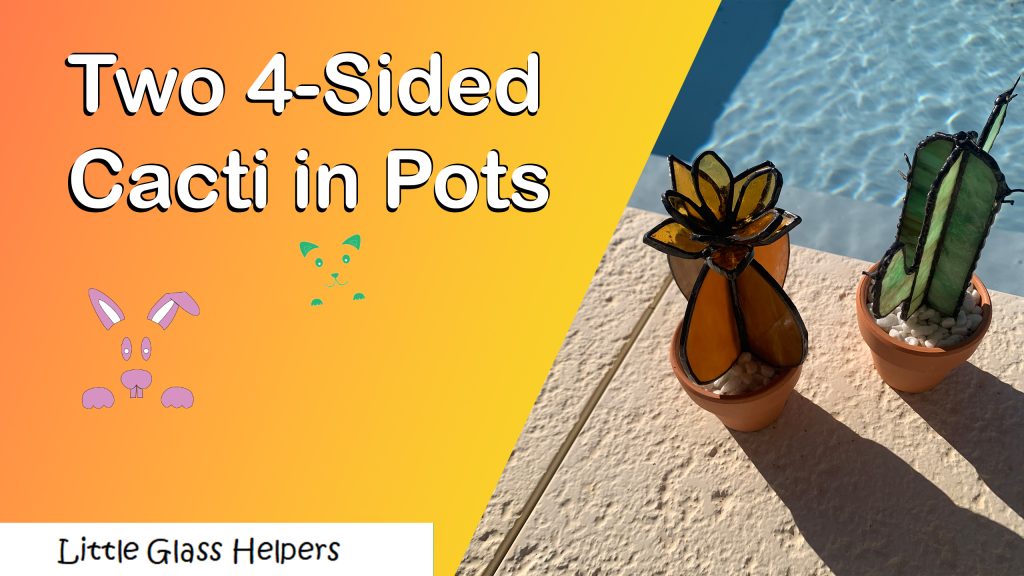
Cactus
Cute cactus shape, great beginner project.
How-To Guides
Handy one-page guides for common stained-glass techniques — print and leave in-store for customers.
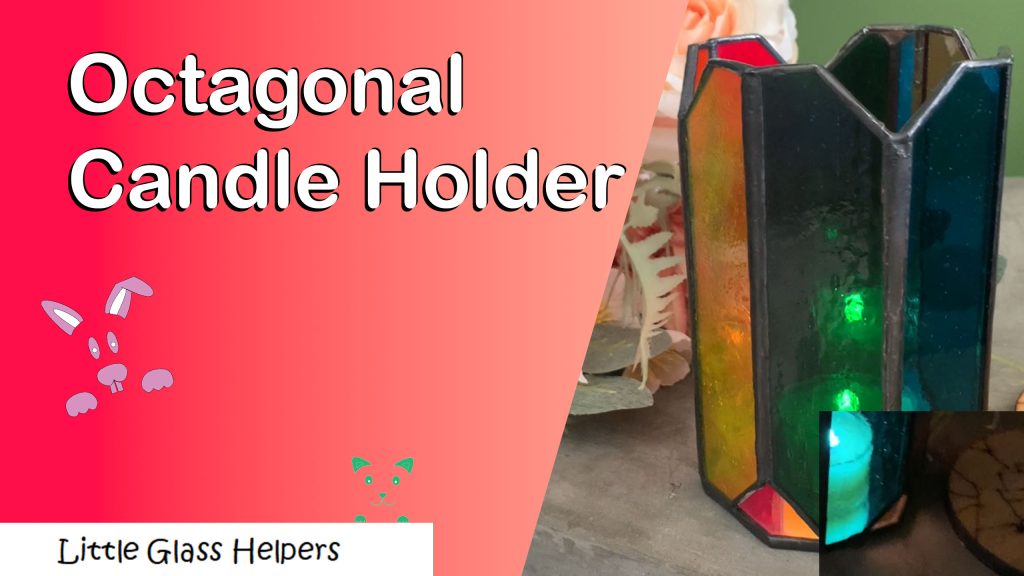
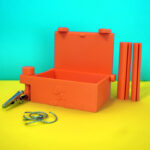
Angle Kit

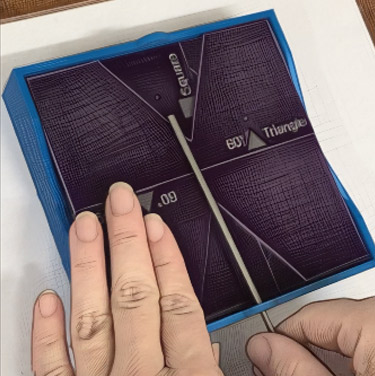
Step 1: Remove the steel bar from the angle kit.
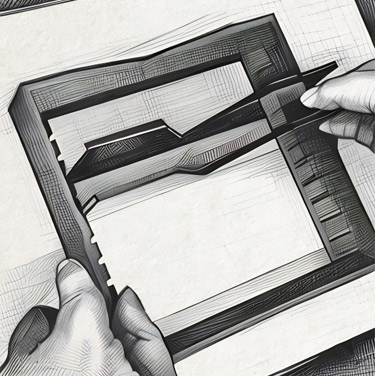
Step 2: Place two of the guides into the slots spaced slightly less than the size of the glass you are using.

Step 3: Place the steel bar across the guides. You may not need this for larger angles.

Step 4: Place your glass on the guides so that they are on either side of the bar.

Step 5: Solder along the join and allow to cool.

Step 6: Turn your shape, add the next piece and solder the join. Repeat until prism is finished.

Step 7: Use the angle kit to hold the glass parallel to your bench to get beautiful beading.
Step 8: Clean and pack away your kit holding it all together with the steel bar.
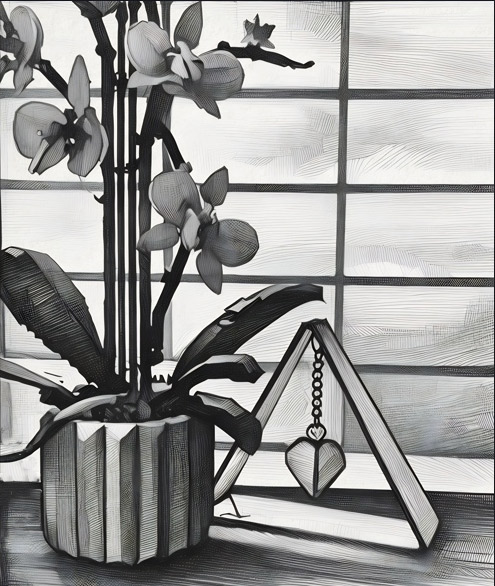
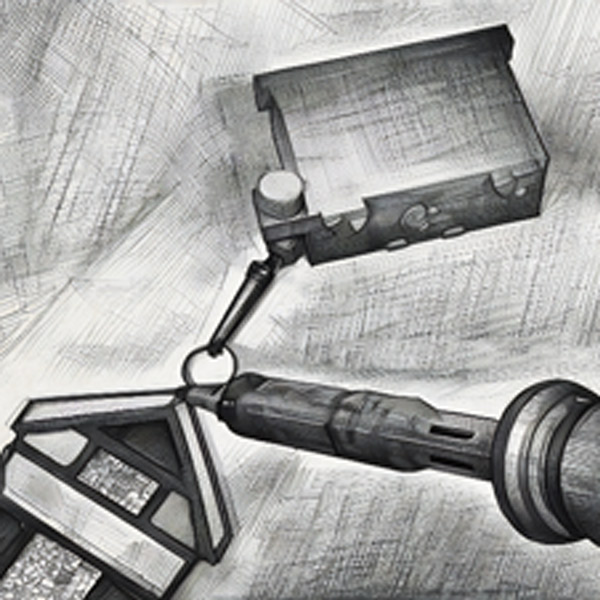
Jump Ring
Step 1: To make jump rings, insert wire into the hole of one of the cylinder helpers.
Step 2: Wind the wire around the helper.
Step 3: Clip along the wire by inserting your snips into the guiding inset.
Step 4: To solder the jump ring to your pieces, pull the clip up and turn it to your desired setting.
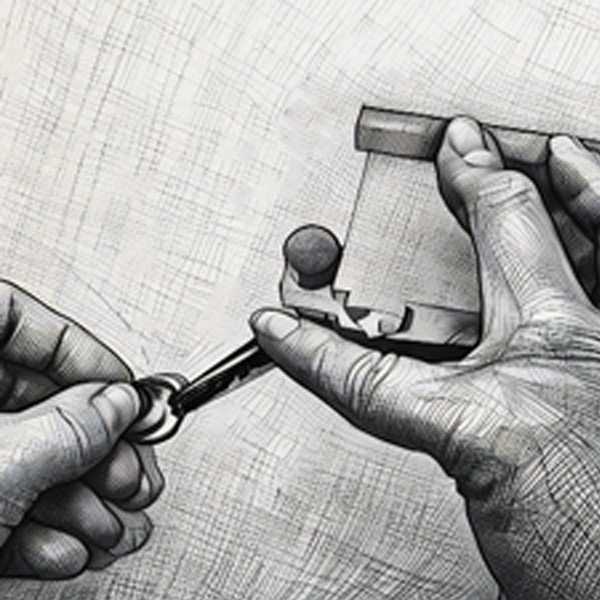
Step 5: Press down on the clip to open it and put the ring in with the opening facing out.
Step 6: Solder the ring to your piece. Your ring will be stronger if you solder it to a join on your piece.
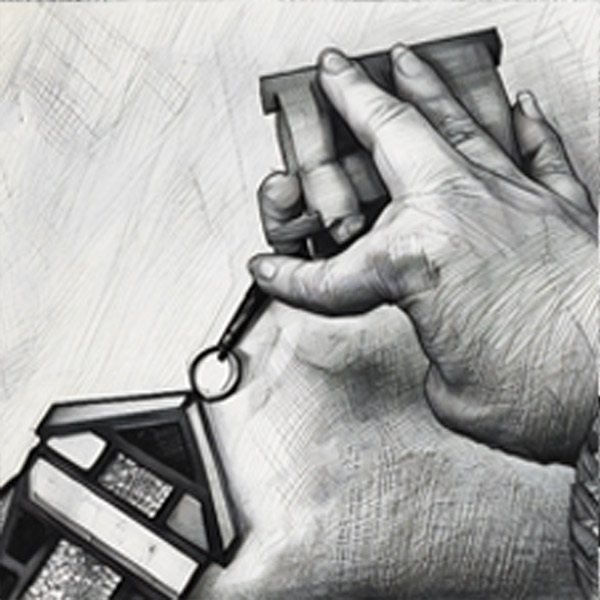
Step 7: Release the ring by pushing down on the clip.
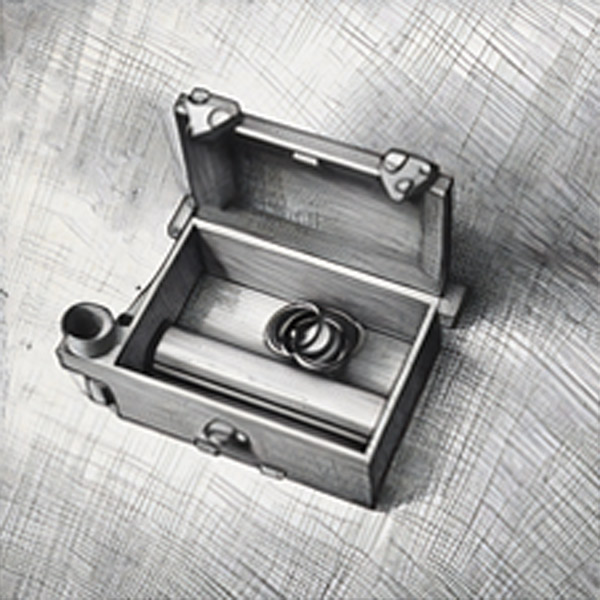
Step 8: Store your rings and guides in the box and your guard dog will take good care of them until next time.
3D Floral Stackers

Step 1: Cut glass using the
guides as the outer edge.
At least part of the sides
should meet the edge. The
petal can extend past the
dotted line.

Step 2: Copperfoil and tin
each petal.
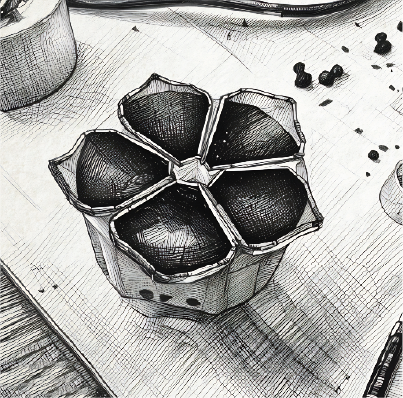
Step 3: Place your petals in
the correct helper as you
go. Make sure there is a
hole in the middle.
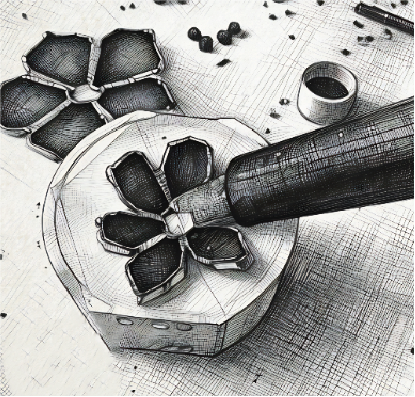
Step 4: Apply flux and
solder the joins of your
petals.
Step 5: After the solder
dries, turn the flower over
and solder the back.
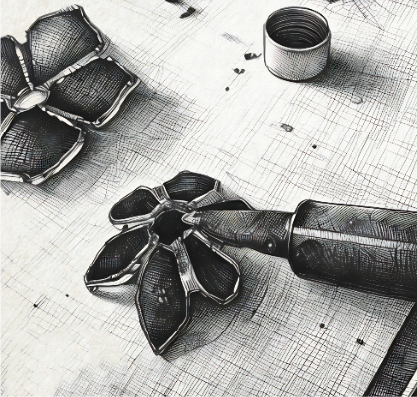
Step 6: Stack the two
flattest flowers and solder
them together through
the holes. Continue adding
flowers and soldering each
time.
Step 7: Sit back with your
helpers and admire the
results.
Important notes:
These helpers are made with PETG which is heat resistant but you still shouldn’t touch it with
your soldering iron.
Some fluxes can be corrosive so give your helpers a wash after use. They’ll love you for it